|
|
     aHR0cDovL2ZyZWVzaGlwLmNvLmty aHR0cDovL2ZyZWVzaGlwLmNvLmty
- 특징: Support MADRIX, Jinx
- 모델 번호: H803tv
- 진동 주파수: RGB
- 연결 모드: DVI cable,Network cable,USB cable
- 보증: 2
- 증명서: ROHS
- 전압: 180-240v
- 재료: Metal
- 와트: 3W
- 전원: DC
- 최대 부하 전력: 400000 Pixels
- 원거리: 20M
- 적합한 조명: WS2811 WS2812 WS2815 RGB Lights
- 제어 방법: DVI Interface
- 브랜드 이름: COLORNIE
- 근원: CN (정품)
- 품목 유형: RGB 컨트롤러
Specificationss: Input Voltage: DC9V
Power Consumption: 1W
Drive Pixels Number: 400000
Weight: 1.3KG
Dimension: L183 x W139 x H40
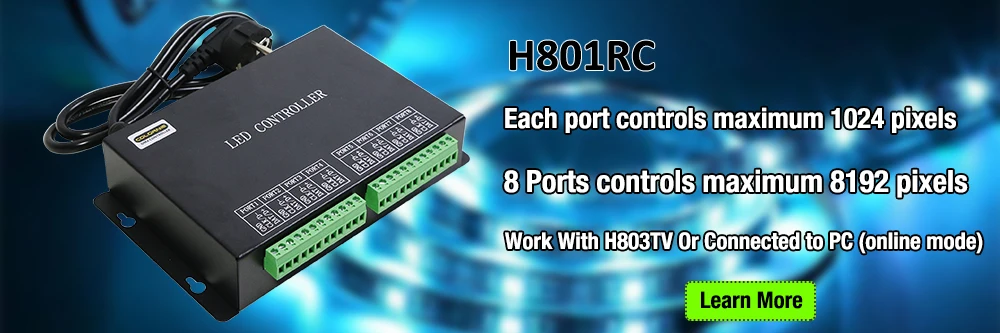
Carton Size: L205 x W168 x H69 Features: (1). H803TV is an online master controller that transmits data over DVI/HDMI interface.
(2). Four network interfaces drive maximum 400000 pixels.
(3). It supports dual-monitor mode, multi-monitor extension mode and duplication mode.
(4). Support the following resolutions: 1024x768, 1280x720, 1280x960, 1280x1024, 1360x765, 1360x1020, 1600x900, 1600x1200.
(5). Use the autorun USB to transmit and control data, which is applied to both 32-bit and 64-bit operating systems. Supported driver chips: LPD6803, LPD8806, LPD1882, LPD1889, LPD6812, LPD1883, LPD1886, DMX512, HDMX, APA102, MY9221, DZ2809, SM16716, SM16711, UCS6909, UCS6912, UCS1903, UCS1909, UCS1912, WS2801, WS2803, WS2811, WS2812, INK1003, TM1812, TM1809, TM1804, TM1803, TM1913, TM1914, TM1926, TM1829, TM190, TM1814, BS0901, BS0902, BS0825, BS0815, LY6620, BS0825, LD1510, LD1512, LD1530, LD1532, TLS3001, TLS3002, DM412, DM413, DM114, DM115, DM13C, DM134, DM135, DM136, MBI6023, MBI6024, MBI5001, MBI5168, MBI5016, MBI5026, MBI5027, 74HC595, 6B595, TB62726, TB62706, ST2221A, ST2221C, XLT5026, ZQL9712, ZQL9712HV, HEF4094, A8012, etc.
Note: H803TV supports more than the chips listed above(some chips have the same sequence diagram, such as UCS2903 has the same sequence diagram with UCS1903, so H803TV supports them all). Step 2. Change the appearance of display Please refer to the following settings 1). H803TV supports the following resolutions: 1024x768, 1280x720, 1280x960, 1280x1024, 1360x765, 1360x1020, 1600x900, 1600x1200. 2). It supports dual-monitor mode, multi-monitor extension mode and duplication mode. In this manual, i just choose 1024x768 and duplication mode for example. Then, click "Apply", "OK".n, click "Apply", "OK". The visible area of your screen should be 1024x768 now. Step 3. Configure Led Studio LED Studio Dwonload: https://drive.google.com/open?id=0B1gzqyV6hfOgbFZrMHdwVzU1X0E、 For example if you have a 64(pixels) by 64(pixels) screen. Click the following icon or "File" -- "New". Then, click "Apply", pops up the following window.
Origin position: the top left corner of your screen, normally, i set X, Y both to 0 Note:
Four ports of H803TV can drive different chips, each port can be configured individually. Click menu "Setting" -- "Multi-Net Setting" For example, if there are 8 slave controllers.
You can distribute slave controllers to each Net of H803TV Then, click "File" -- "Send to H803TV"
Software will remind you again, just enter coordinate and click "OK". Then, save all these settings and go back to main window. You can also connect multiple H803TVs to DVI distributer, each H803TV just control part of the screen
|
|
|
|
|


 배송기간
배송기간